on Tripadvisor
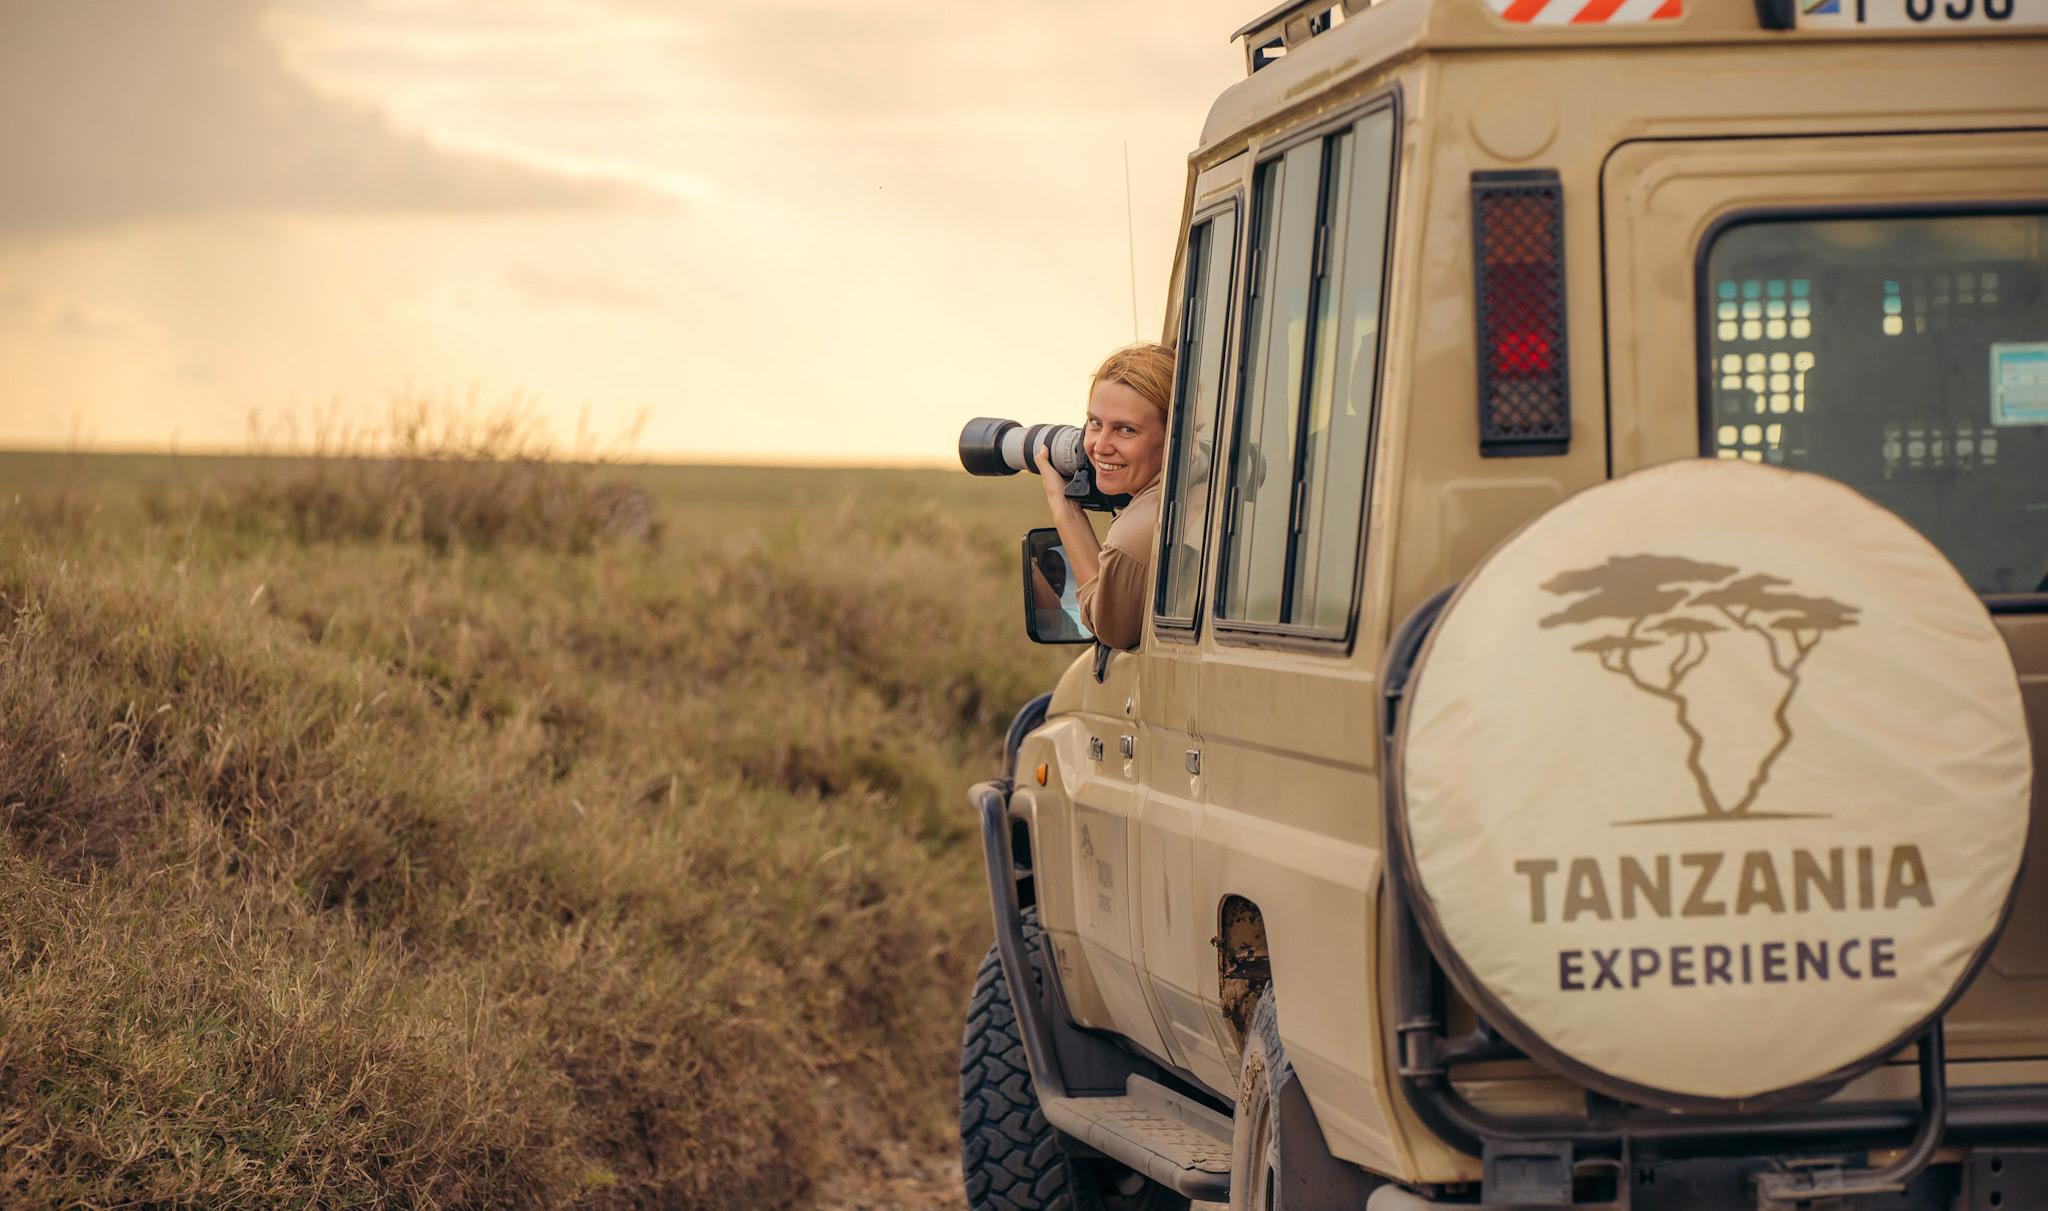
For many Tanzania safari-goers, taking great pictures is a primary goal. Visitors will quickly learn that Tanzania is an incredibly photogenic country, and with cameras becoming ever more accessible, affordable and user-friendly, going home with pictures that look fit for National Geographic is certainly a very attainable goal.
But you’ll still need more than just the right gear and the right setting to get those really iconic shots. With these simple tips, you should be confident to show off your beautiful images to your friends and relatives when you get home, even if you took them all with a phone, tablet or old-fashioned point-and-shoot.
Light is paramount

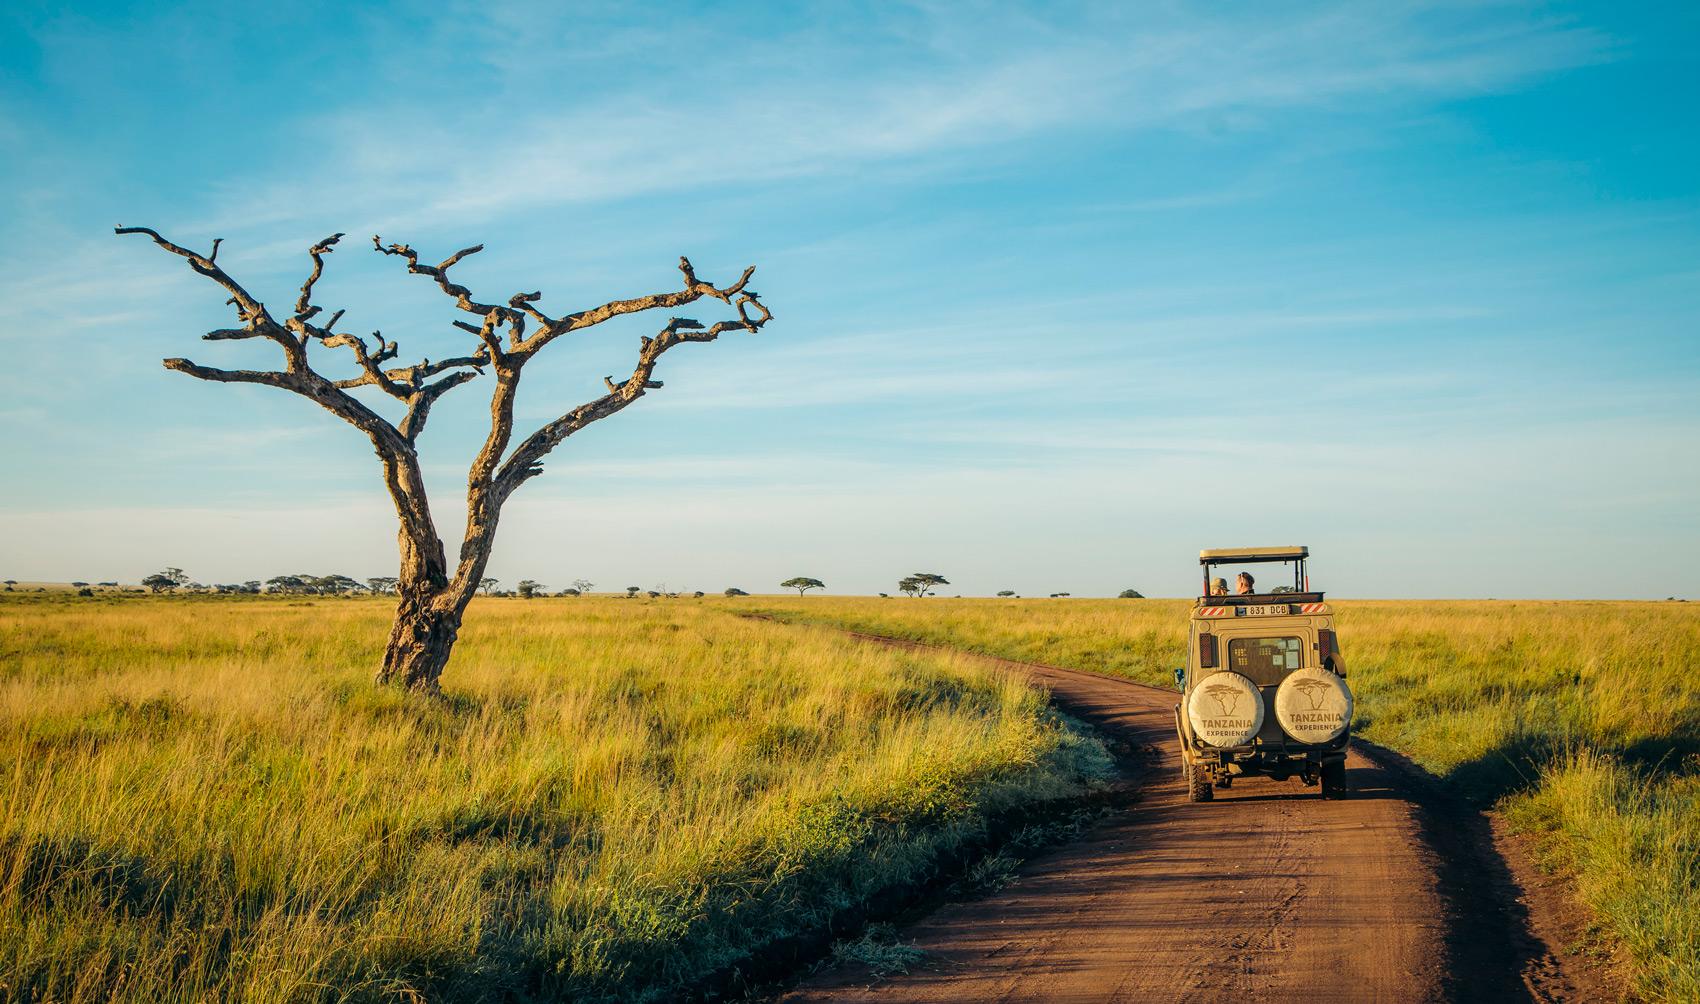
If you hang out with wildlife photographers you’ll quickly notice that they go on a lot about the light. And not without good reason. Softer light makes for much richer and more detailed images. Early morning and late afternoon/evening are generally considered the best times for safari photography. In our business, we call this the “golden hour.”
In the middle of the day the light is much harsher and this means your images will lose a lot of vibrancy and contrast – far too much white light. While post-production can help to some extent in adjusting this, there’s no substitute for the softer light and richer colours and contrasts you’ll find earlier and later in the day.
Also worth noting is that harsher light generally goes hand in hand with hotter temperatures, which means less active wildlife and, therefore, less interesting shots.
Another important consideration with regards to light is the angle of the sun. It’s generally advised to shoot with the sun behind you, as this gives more detail to your subject. If you shoot with the sun staring you in the face from behind your subject, you will generally get too much glare, too many shadows, and lose a lot of detail.
One exception to this rule is if you are trying to shoot silhouettes at sunrise or sunset, when the light is nice and soft. For great silhouettes, you ideally want the sun low in the sky behind your subject and facing you, as with the image above, and you want to be positioned below the horizon, so there’s not too much going on in the foreground of your image.
Composition and perspective

Pictures where the main subject (or subjects) are always dead centre in the frame tend to get repetitive and boring. It might seem like the most logical thing to do with your shots, but it’s not very creative.
A good place to start when it comes to being more thoughtful about your composition is the ‘Rule of Thirds’. Now try to position your main subject off centre in the foreground, as with the image above. This method can encourage more of a sense of depth as well as interaction with the rest of the image if there are other points of interest or a pretty backdrop.
If taking landscape shots, the ‘Rule of Thirds’ is just as useful for positioning your horizon or any particular features that stand out.
If you want to get more creative, it’s also fun to play around with angle and perspective. Don’t take all your shots from the same sitting position in your safari vehicle or at eye level, mix it up.
When possible, for example, get down in the dirt and take images from ground level. Your subjects can become more imposing, or you can add to your depth of field in landscape shots.
If you’ve got a tiltable screen, lift your camera above your head and try to shoot downwards.
Try a number of different perspectives and see what works for you.
Now that we set you up with the basics, watch this space for our Part II of how to take great safari pictures!
Otherwise, just jump right in and join us on one of our safaris to practice your photographic skills.
Your safari adventure starts here!